
Time: about 10 minutes for the first phone · Plan: Free (1 camera), PRO (3), MAX (5) · You'll need: phones with a browser, the same Wi-Fi as the laptop, a tripod or clamp per phone
Pick an empty tile in the Camera tab, choose Phone and let the volunteer scan the code. Android phones on your Wi-Fi use the Local route and trust a certificate once; iPhones use the Remote route and enrol once with an authenticator app. After that it's tap a tile to warn its operator, tap again to put it on air.
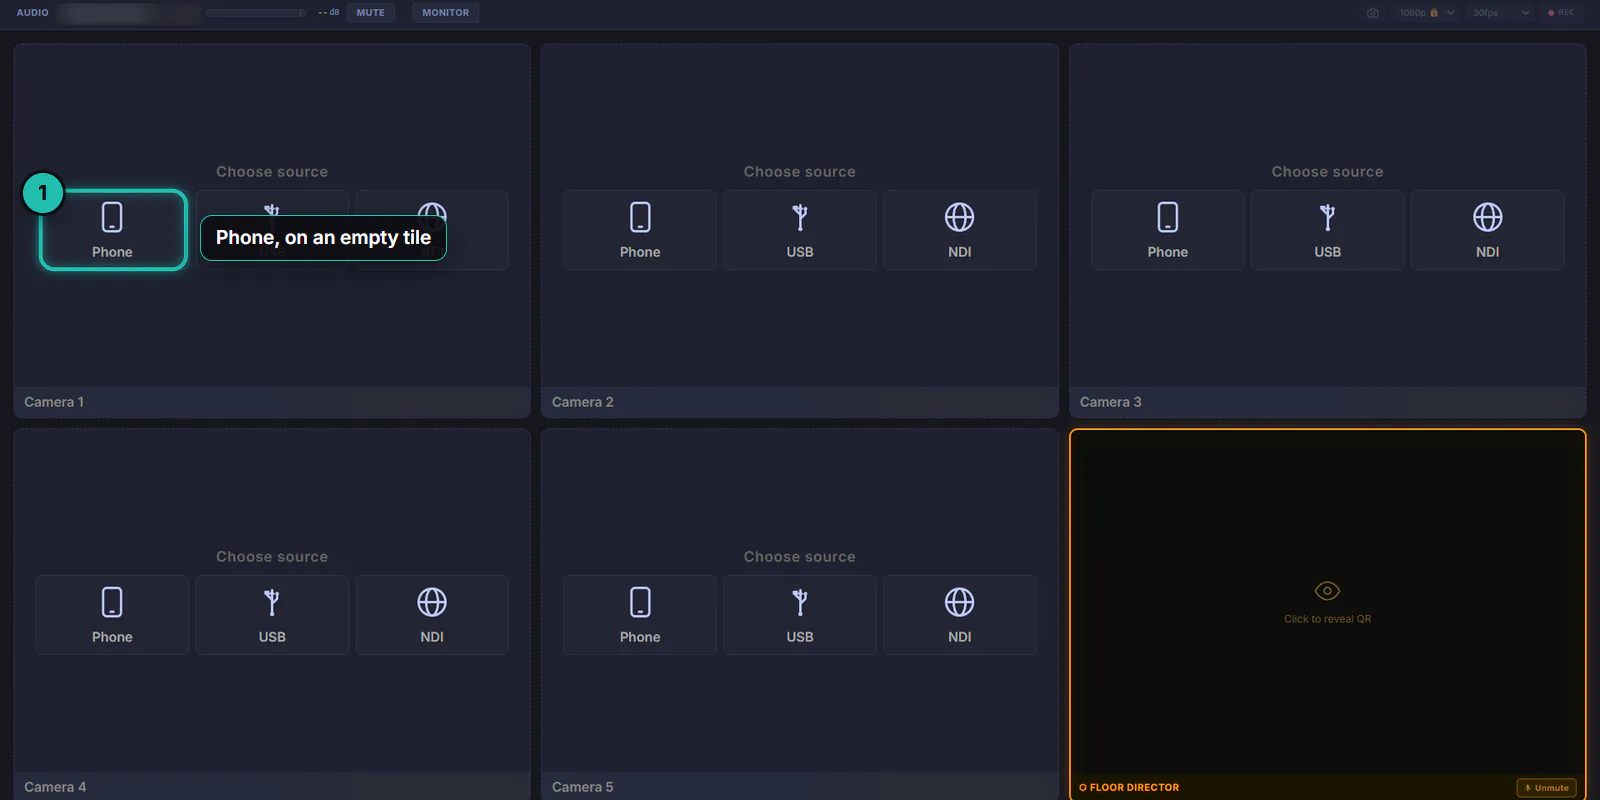
Step 1: Choose Phone on an empty tile
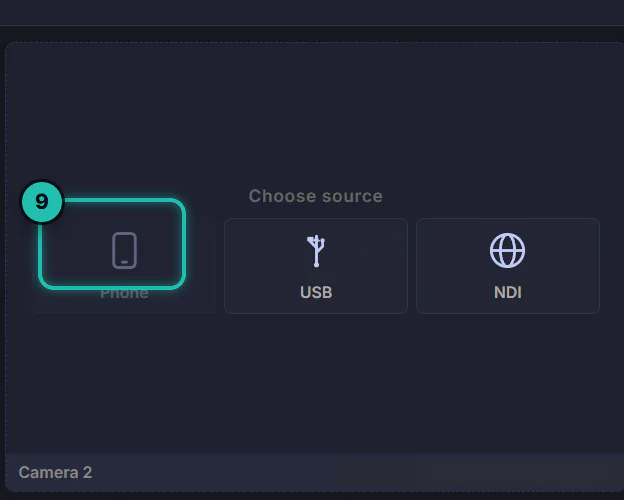
Open the Camera tab. Every empty tile says Choose source with three options: Phone, USB and NDI. Press Phone on the tile you want this camera to be.
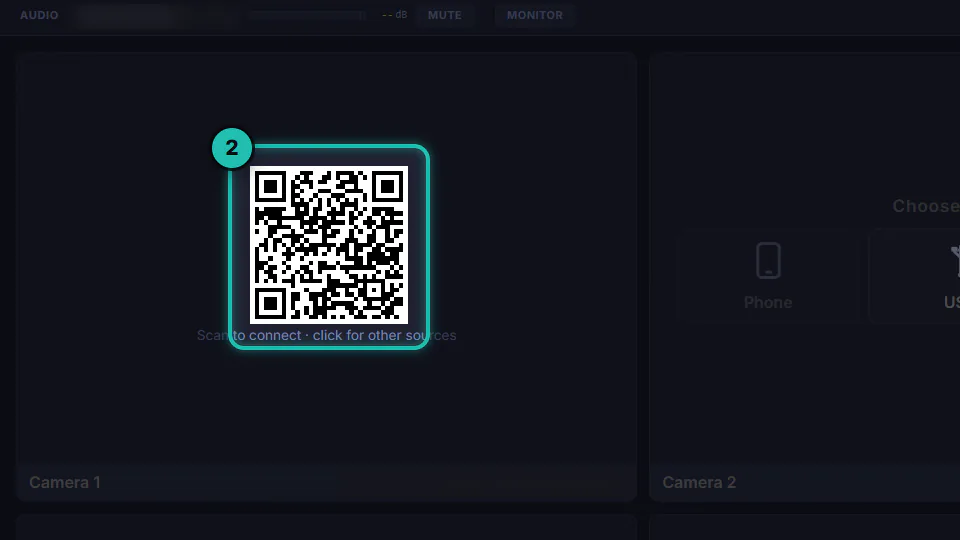
Step 2: Let the volunteer scan the code
The tile turns into a QR code. This is the Local route: it works for any phone on the same Wi-Fi as the laptop, and it's the one to use for Android. The volunteer scans it with the phone's camera and the phone opens Broadcasteer in its browser.
Step 3: Android, trust the certificate once
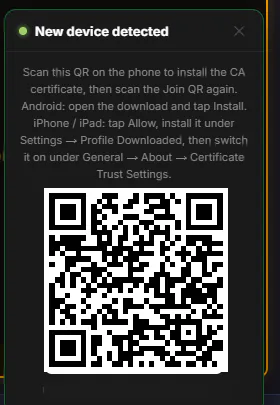
The first time a new phone joins, the Studio shows New device detected with its own QR code. On the phone, scan that one and install the certificate (on Android, open the download and tap Install), then scan the camera's code again. A phone that has done this once goes straight to the camera next time.
Step 4: iPhone, switch on Remote
Open Settings › System & Network and set Remote Sources to Remote. With Remote on, the tile's code card offers a Remote code as well. The iPhone scans that one, enrols once with an authenticator app (an invite, a six-digit code, done for about three months) and never needs a certificate.
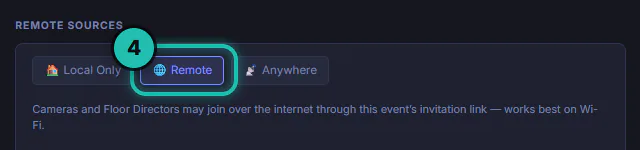
If your volunteers are all on Android, you can leave this on Local Only.
Step 5: Check the phone says Standby
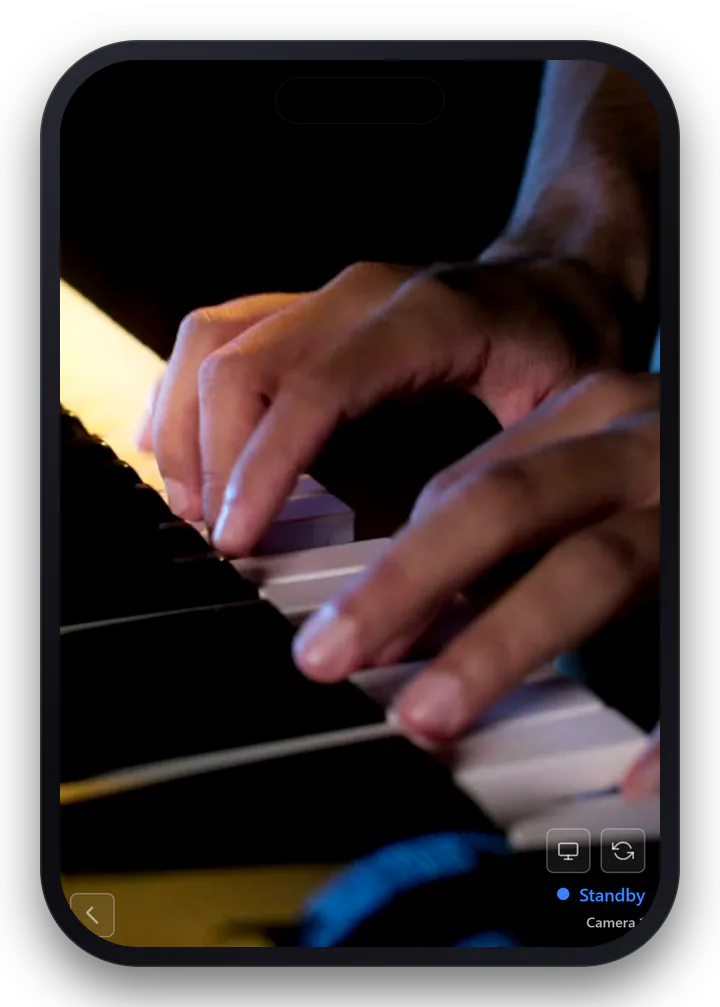
Once it's connected, the phone shows its own picture with the camera's name and Standby at the bottom. The screen stays awake while it's a camera, so plug it in if the service is long.
Step 6: Tap once to cue, tap again to take
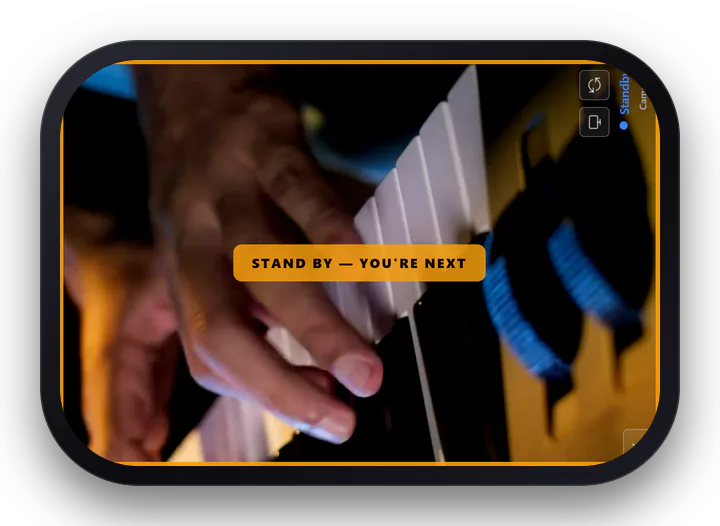
Tap the tile once and the phone buzzes with the amber STAND BY banner, so the volunteer keeps the shot steady. Tap again a moment later and that camera is on air, with a LIVE badge on the tile.
Step 7: Name each camera
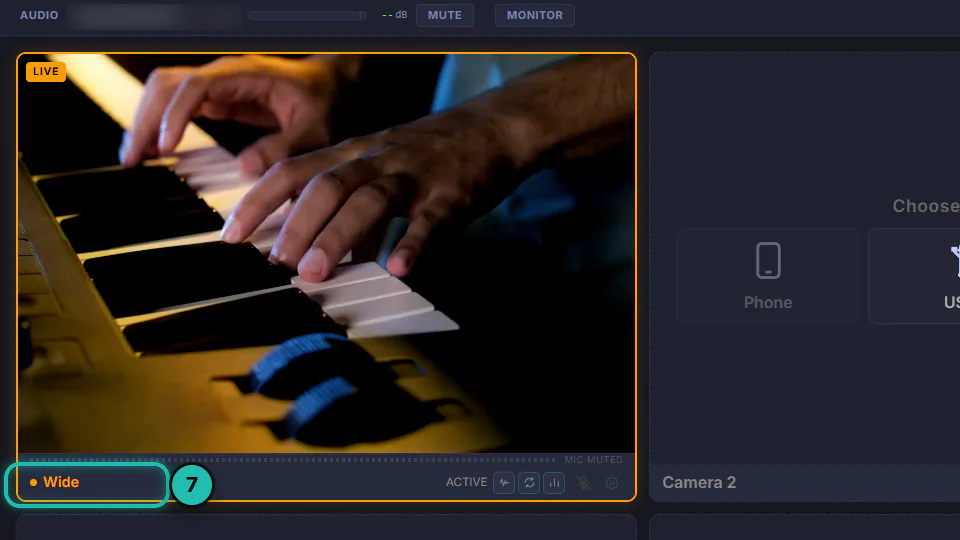
Click the tile's name (hover and it says Click to rename) and type something your team will understand when you call it out: Wide, Pulpit, Keys.
Step 8: One tap instead of two, if you like
Settings › Video › Auto-take on cue turns the two taps into one. The phone still buzzes to warn its operator, and the Studio switches by itself the moment that camera's picture arrives. If a cued camera never comes up within 5 seconds, it's left for you to take by hand.
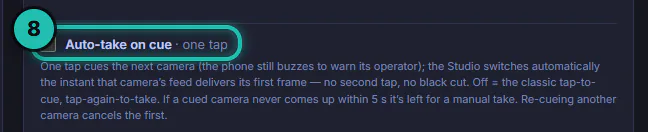
I'd leave it off until your team is used to the warning tap. It's a good habit to keep.
Step 9: Know your plan's limit
The free plan runs one phone camera at a time, PRO three and MAX five. On the free plan the second tile's Phone option is greyed out, while USB and NDI are still there.
If it doesn't work
- The phone can't connect. It's on mobile data, a guest network or a different Wi-Fi name. Put it on the same Wi-Fi as the laptop.
- Android keeps asking for the certificate. A new router or network means trusting it once more. Follow the New device detected card again.
- An iPhone asks to download a configuration profile. It scanned the Local code. Switch Remote on and scan the Remote code instead.
- The invite has expired. Remote invites last ten minutes and work once. Make a fresh one.
- A camera keeps dropping out. Move it closer to the router and give the cameras their own 5 GHz network. The what you need tutorial explains why.