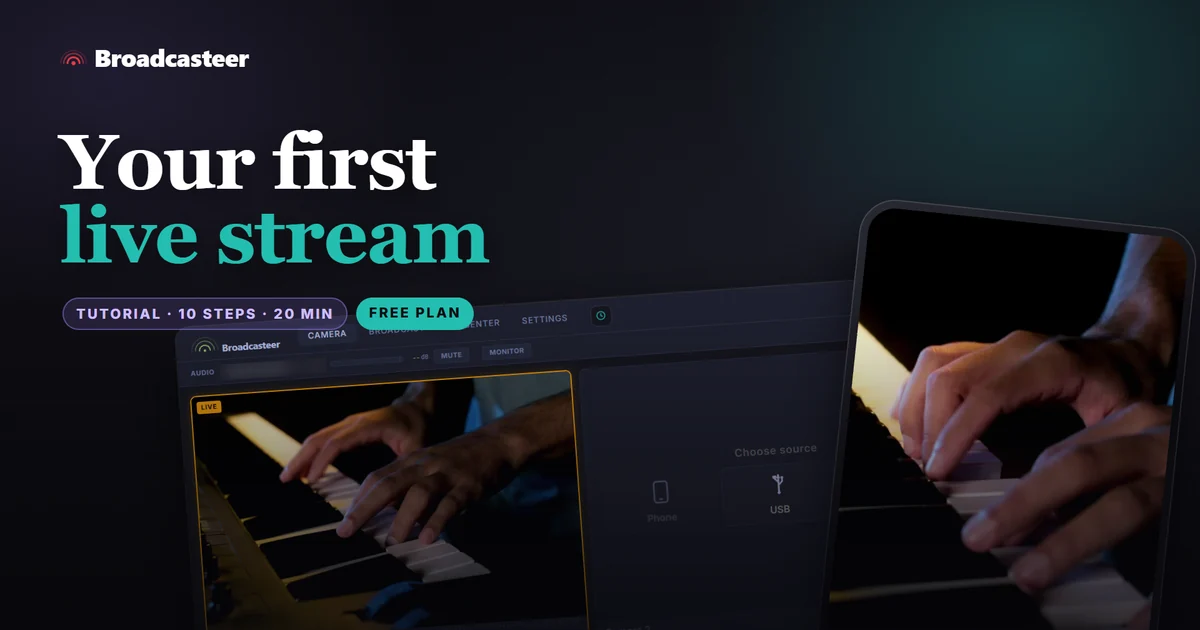
Time: about 20 minutes · Plan: Free (one phone camera, 720p) · You'll need: a Windows laptop, one phone, the same Wi-Fi for both, and a YouTube channel with live streaming switched on
Make a free account, download the Local Server from your dashboard and open the Studio. Scan the camera tile's QR code with a phone, tap the tile twice to put it on air, then connect YouTube in Settings › Live Stream and press Go Live on YouTube. The free plan does all of it with one phone camera, in 720p, with no watermark and no time limit.
Step 1: Create your account
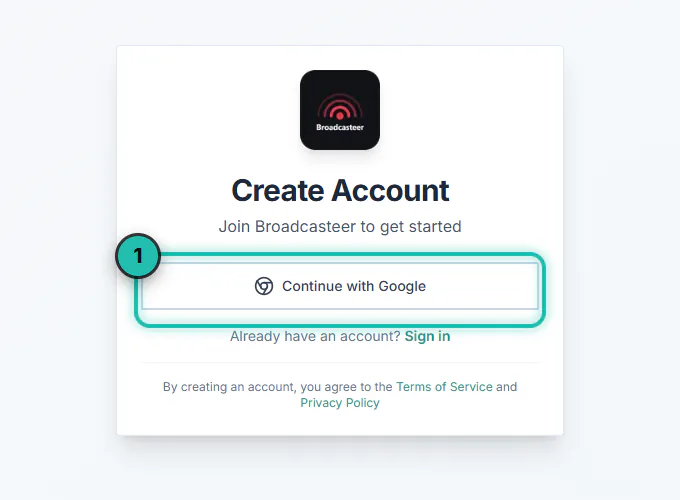
Go to broadcasteer.com and press Start Free. Sign up with Continue with Google. That's the whole form... no card, no trial clock.
Step 2: Download the Local Server
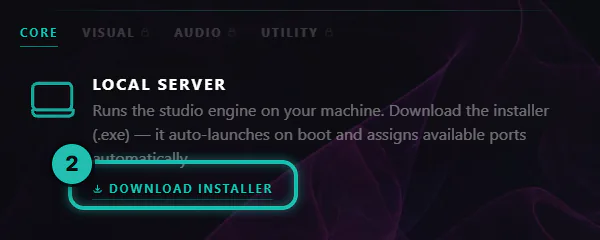
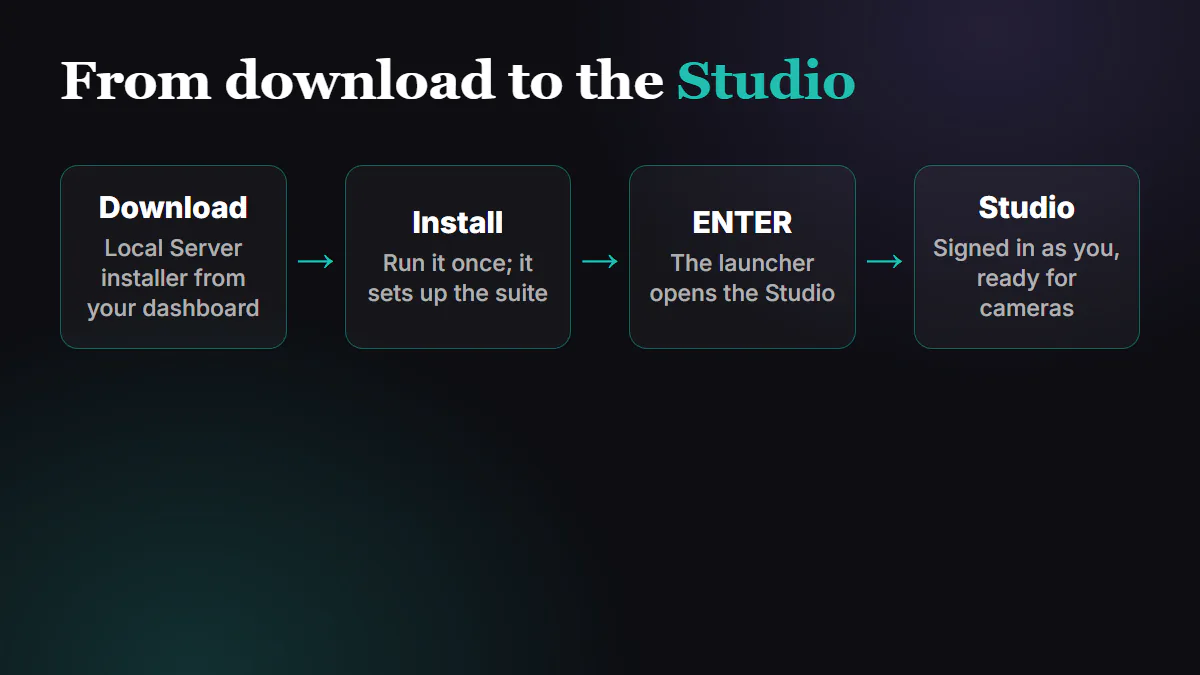
Your dashboard opens after sign-up. Open Modules, stay on Core, and press Download installer on the Local Server card. The Local Server is the studio engine that runs on your laptop; everything else plugs into it.
Step 3: Install it and press ENTER
Run the installer once. When the launcher opens, press ENTER and the Studio opens, signed in as you. Next time you can also get in from the dashboard's Enter Studio button.
Step 4: Let the System Check have a look
The first time, the Studio checks your laptop and says READY when it's happy. Press Continue →. If you'd rather not see it every time, tick Don't show on startup first.
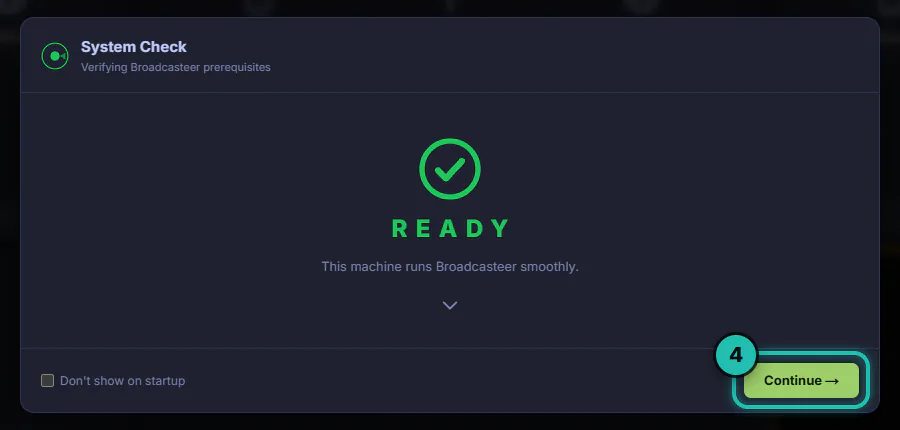
If it lists something that needs fixing, sort that out before Sunday, not during.
Step 5: Add your phone as Camera 1
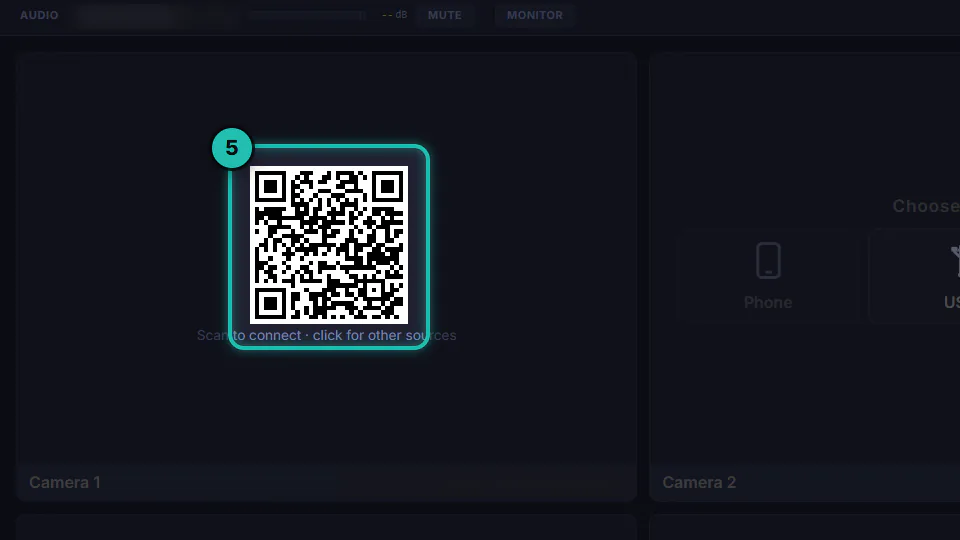
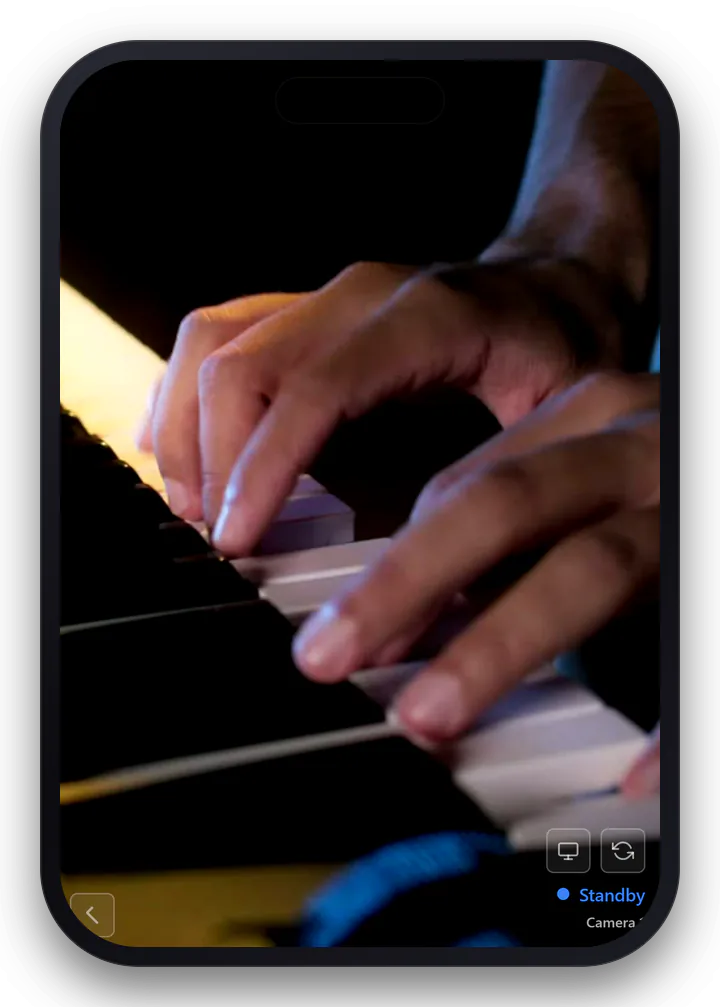
In the Camera tab every tile says Choose source. Press Phone on Camera 1 and a QR code appears. Scan it with the phone's camera app. The phone opens Broadcasteer in its browser, no app to install, and shows Standby once it's connected.
An Android phone on the same Wi-Fi trusts a certificate the first time; an iPhone takes the Remote route instead. The phones tutorial walks through both.
Step 6: Tap once to cue, tap again to take
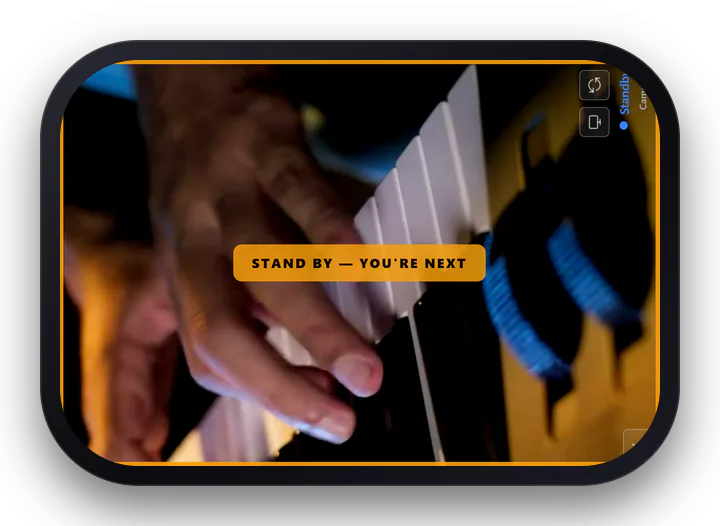
Tap the tile once. The phone buzzes and shows the amber STAND BY banner, so whoever is holding it knows to keep still. Tap the tile again a moment later and the camera is on air: the tile gets a LIVE badge.
Step 7: Connect YouTube
Open Settings › Live Stream. Under Connected Platforms, press Connect YouTube → and approve it with the Google account that owns your channel. It can be a different account from the one you signed in with... the card says so, and that trips people up less than you'd think.
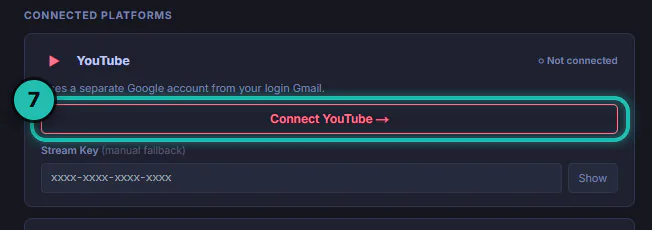
If you'd rather not connect, the Stream Key field under the card is the manual fallback.
Step 8: Give the stream a title
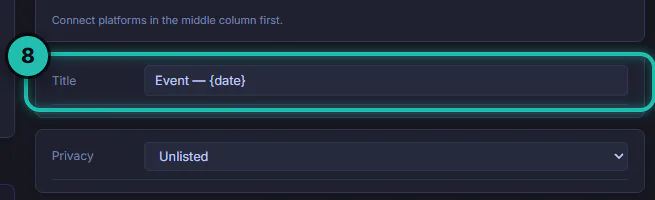
In Stream Presets, the Title starts with a {date} placeholder that becomes today's date when you go live, so you can leave it and change only the words. Set Privacy to Unlisted for your first run. Only people with the link can watch while you check it works.
Step 9: Go live
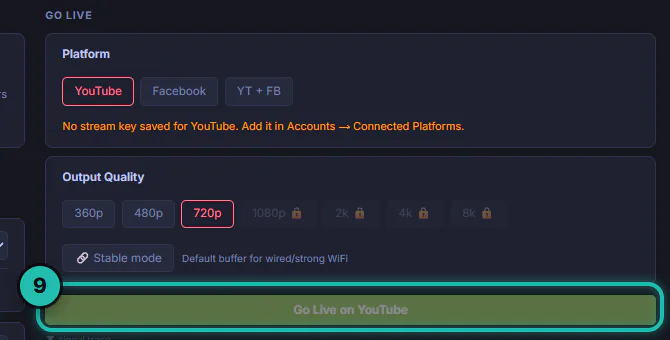
In the Go Live column, leave YouTube selected and Output Quality on 720p, the free plan's ceiling (the locked qualities belong to PRO and MAX). Press Go Live on YouTube. The Studio creates the broadcast on your channel and the status changes to live.
If your channel has never streamed before, YouTube can take up to a day to switch live streaming on. That's YouTube's rule, not ours, so do this one a few days before Sunday.
Step 10: End the stream, then the service
When you're done, press End Stream, then END SERVICE in the top bar.

If it doesn't work
- The phone never connects. It's on a different network. Guest Wi-Fi often keeps devices apart and mobile data can't see your laptop, so put both on the same Wi-Fi.
- Android shows a warning or keeps asking. It hasn't trusted the certificate yet. Follow the New device detected card in the Studio, it walks the phone through it.
- Go Live sits on "Ready, connecting". The channel doesn't have live streaming switched on yet. Turn it on in YouTube Studio first.
- ENTER is greyed out. A required update is waiting in the launcher. Install it, then press ENTER.
- "Seat limit reached". Your account is open on another PC. Sign out there first.